


ご訪問ありがとうございます。
Googleシートマスターのひろしです。
前回

【初めてのGAS 0.】GAS(Google Apps Script)をとにかく触ってみる
technical.verybestcbp.com
今回は、とっても価値の高い方法をお伝えします。

これを知ることであなたは、
- GASで特定のセルにフォーカスを移動させることができます。
- セルの2種類の指定方法がわかります。
なので、サクッとマスターして
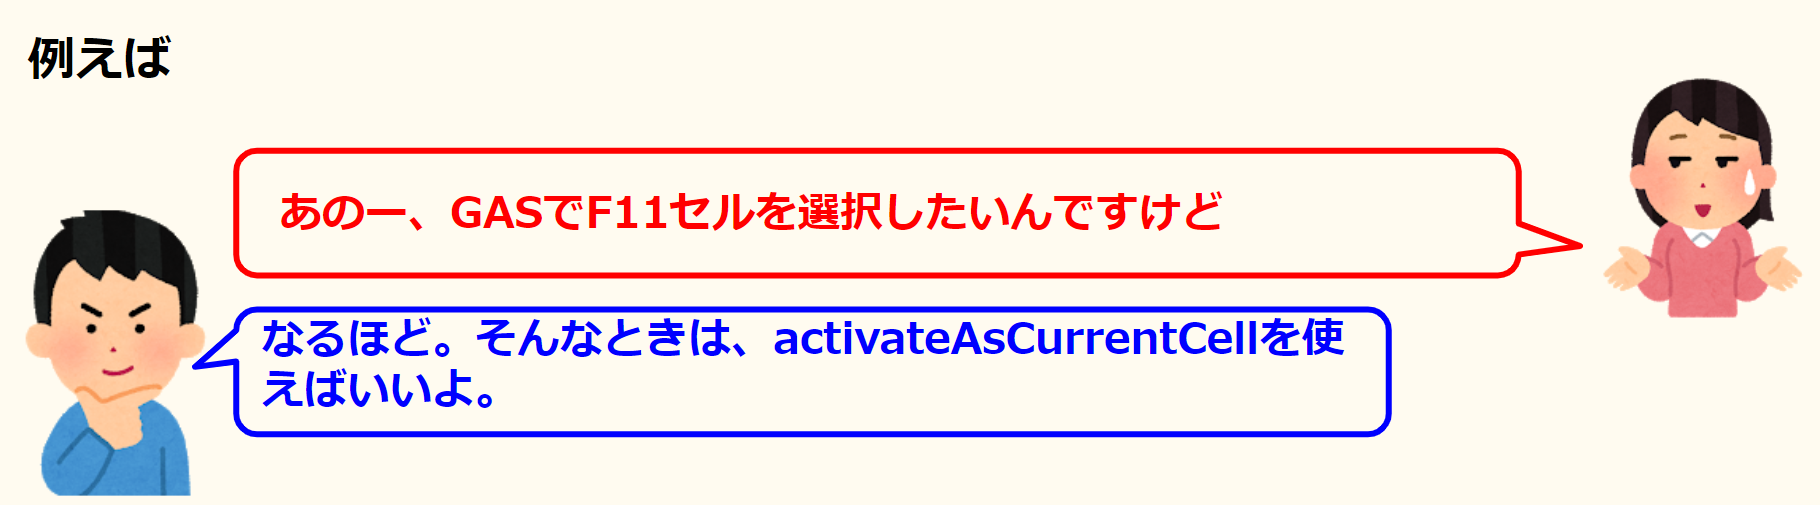
と答えてあげてください。
動画はこちら
スクリプトはこちら
//A1形式で指定されたセルに移動する
function moveA1cell() {
  const ss = SpreadsheetApp.getActiveSpreadsheet()
  const sh = ss.getActiveSheet()

  const movecell = sh.getRange("B3").getValue()

  sh.getRange(movecell).activateAsCurrentCell()
}
function movecell() {
  const ss = SpreadsheetApp.getActiveSpreadsheet()
  const sh = ss.getActiveSheet()

  const nrow = sh.getRange("B5").getValue() //行の取得
  const ncolumn = sh.getRange("C5").getValue() //列の取得

  console.log("nrow =",nrow," ncolumn=",ncolumn)

  sh.getRange(nrow,ncolumn).activateAsCurrentCell()
}
動画内で閲覧しているページ

【初めてのGAS 1.】セルの値を操作する(取得と設定 setValue,getValue)
technical.verybestcbp.com
最後までご覧いただきありがとうございます。
つぎはこちら

【GAS基礎講座 2. 】ループを使い4つのセルに5を足し込んでいく方法(for)
GASでループさせることができるようになります。
一つの動作を連続して行うことができます。
technical.verybestcbp.com

コメント